Installing IMakeCore
This document describes how to install IMakeCore.
Installation
Preparing the Installation Environment
Python Environment
IMakeCore requires a Python 3 installation environment to run the program. Ensure that Python 3 is installed on the system.
Additionally, ensure that the packaging and requests libraries are available in Python 3; otherwise, IMakeCore will throw an error during execution.
Users can install them using the following command:
Qt Environment
If users are only developing programs under CMake without using Qt-related packages (such as ICore, IHttp, IRdb, ICmd, etc.), and only using standard packages, they do not need to install the Qt environment.
Developers should install Qt themselves, recommending a version of Qt no lower than Qt5.14.2. Qt versions 5.14.2 and above have been tested, while lower versions have not been tested. Users can also test them themselves.
Qt5.14.2 is the last pre-compiled distribution version, and versions after that are installed via the installer.
Installing IMakeCore
The download address for IMakeCore is IMakeCore.zip, or users can download it from GitHub at: Releases · IWebCore/IMakeCore.
The downloaded file is a zip archive, and the contents after decompression are as follows:
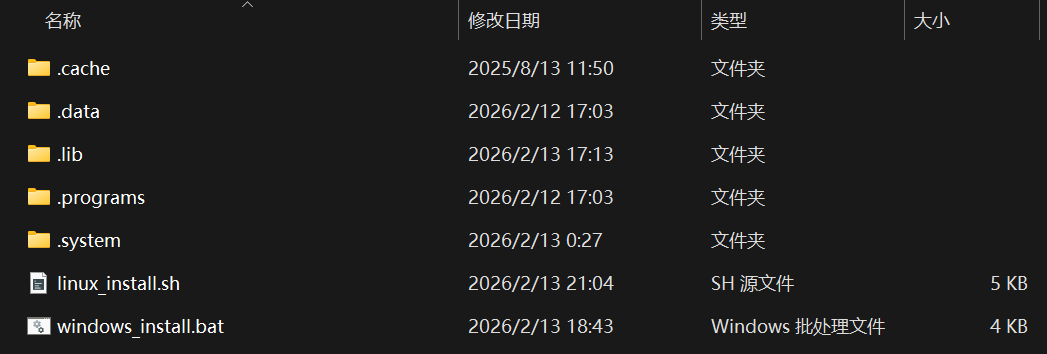
In this folder, there are two script files: linux_install.sh and windows_install.bat, which correspond to the installation package for Linux and the installation package for Windows, respectively.
Installing IMakeCore on Linux
I installed IMakeCore in WSL.
Open the command line tool in the decompressed folder and execute the following command:
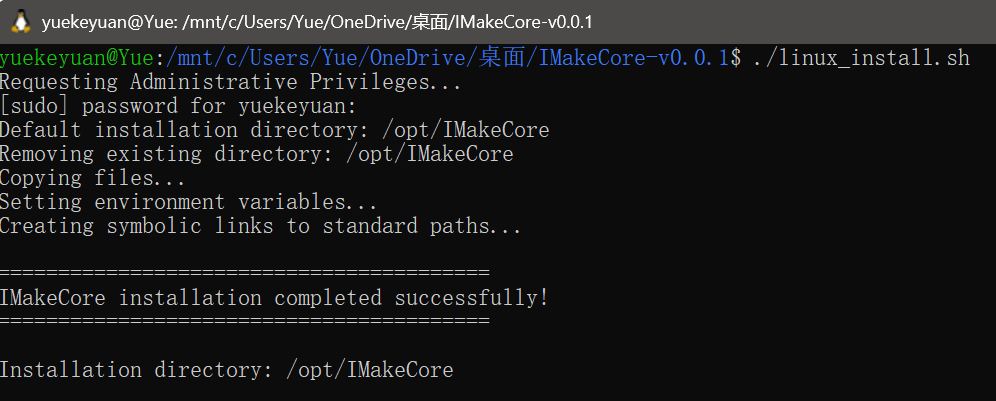
After executing the bash command, administrator privileges will be requested, requiring the password to be entered. After entering the password, the script continues to execute, installing files and setting environment variables.
The following is a screenshot of the installation output:
After installing IMakeCore on Linux, if there is no response during subsequent testing, restart the Linux system.
The installation directory for IMakeCore is /opt/IMakeCore.
Installing IMakeCore on Windows
The installation method for IMakeCore on Windows is consistent with that on Linux.
Open the command line tool in the decompressed folder and execute the following command:
During execution, the command line will request a dialog box for administrator privileges. After the user agrees to administrator privileges, a new command prompt window will appear to execute the installation process. The installation process is shown in the following figure:
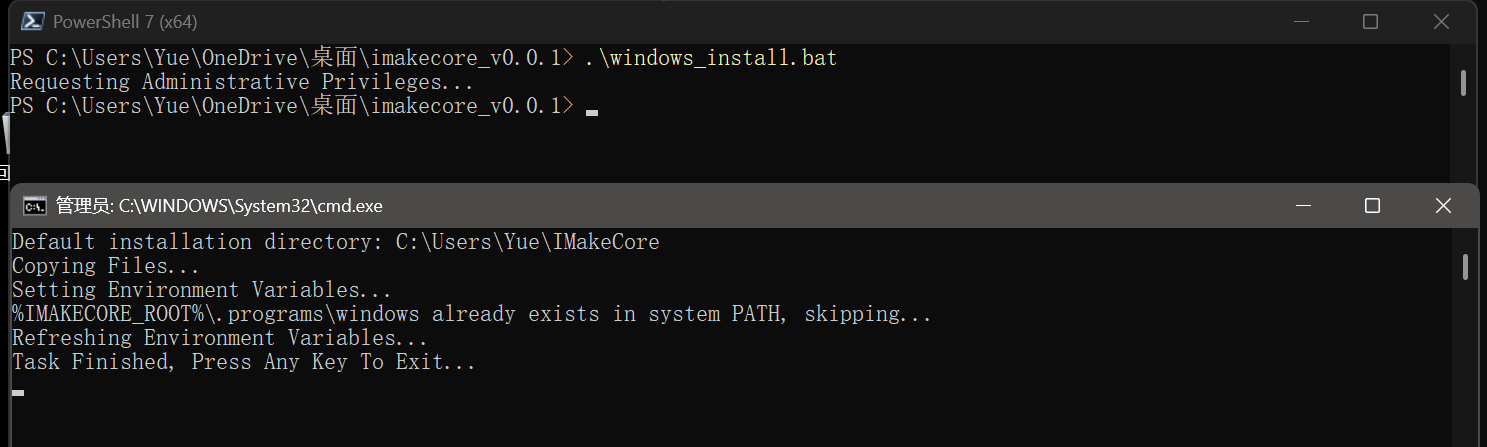
The installation script copies files and sets some environment variables. After completion, users can use IMakeCore.
The installation directory for IMakeCore is C:\Users\Yue\IMakeCore, which is under the user's home directory.
Testing the Installation
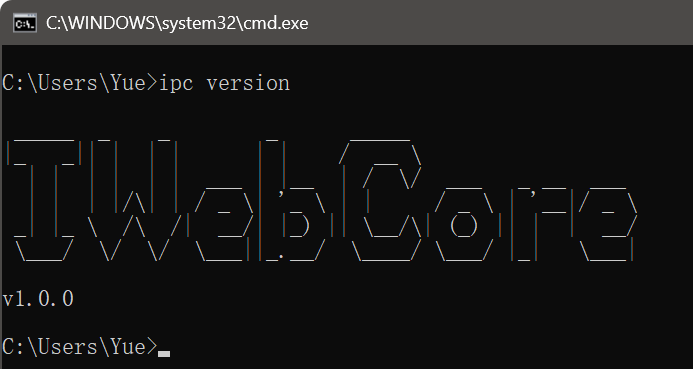
After IMakeCore is installed, users can execute the ipc version command in bash or cmd to test if the installation was successful. ipc is a built-in default program in IMakeCore and is also placed in the environment variables after installation.
The execution result in Linux is as follows:
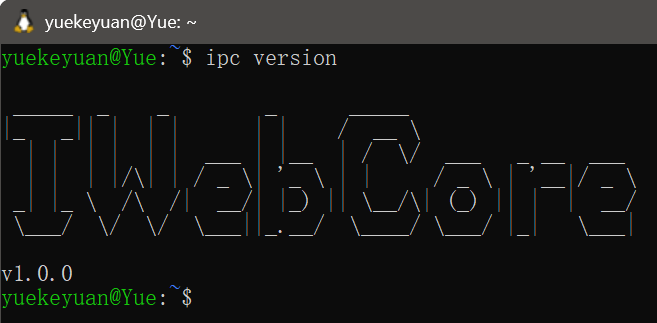
The screenshot of execution in Windows is as follows:
At this point, IMakeCore has been successfully installed. Users can continue to read the content about IMakeCore next.